🔨 Installation
Guild.so is based on Laravel 8 and Jetstream so you can run it just like a standard Laravel application. Here are 2 ways of running Guild.so:
💻 Local Installation
You will need to have the default requirements for a Laravel 8 application on your machine. Valet is a good solution to get you up and running quickly on your local server.
After your machine is setup for any Laravel application, you'll want to clone the repo into your sites folder.
git clone https://github.com/guildso/guildAfter cloning the repo to your machine we will want to create a new database for the application 👇
Create a Database:
During the installation we need to use a MySQL database. You will need to create a local database and add the crendentials to your environment .env file.
Update the environment .env file
Copy the .env.example file to .env and update your Database details in there:
APP_URL=http://guild.testDB_CONNECTION=mysqlDB_HOST=127.0.0.1DB_PORT=3306DB_DATABASE=guildDB_USERNAME=guildDB_PASSWORD=guild_passwordGreat! next we'll need to install the composer dependencies.
Composer Install
We need to include all our PHP vendor dependencies by running the following command:
composer installMigrate Database
Finally we'll want to run our database migrations with the following command.
php artisan migrateYou may also need to run
php artisan key:generateto generate a new key.
That's it! You should now be able to visit the application in your browser to setup your Company Info and User Account. 🎉
👨💻 Sample Data
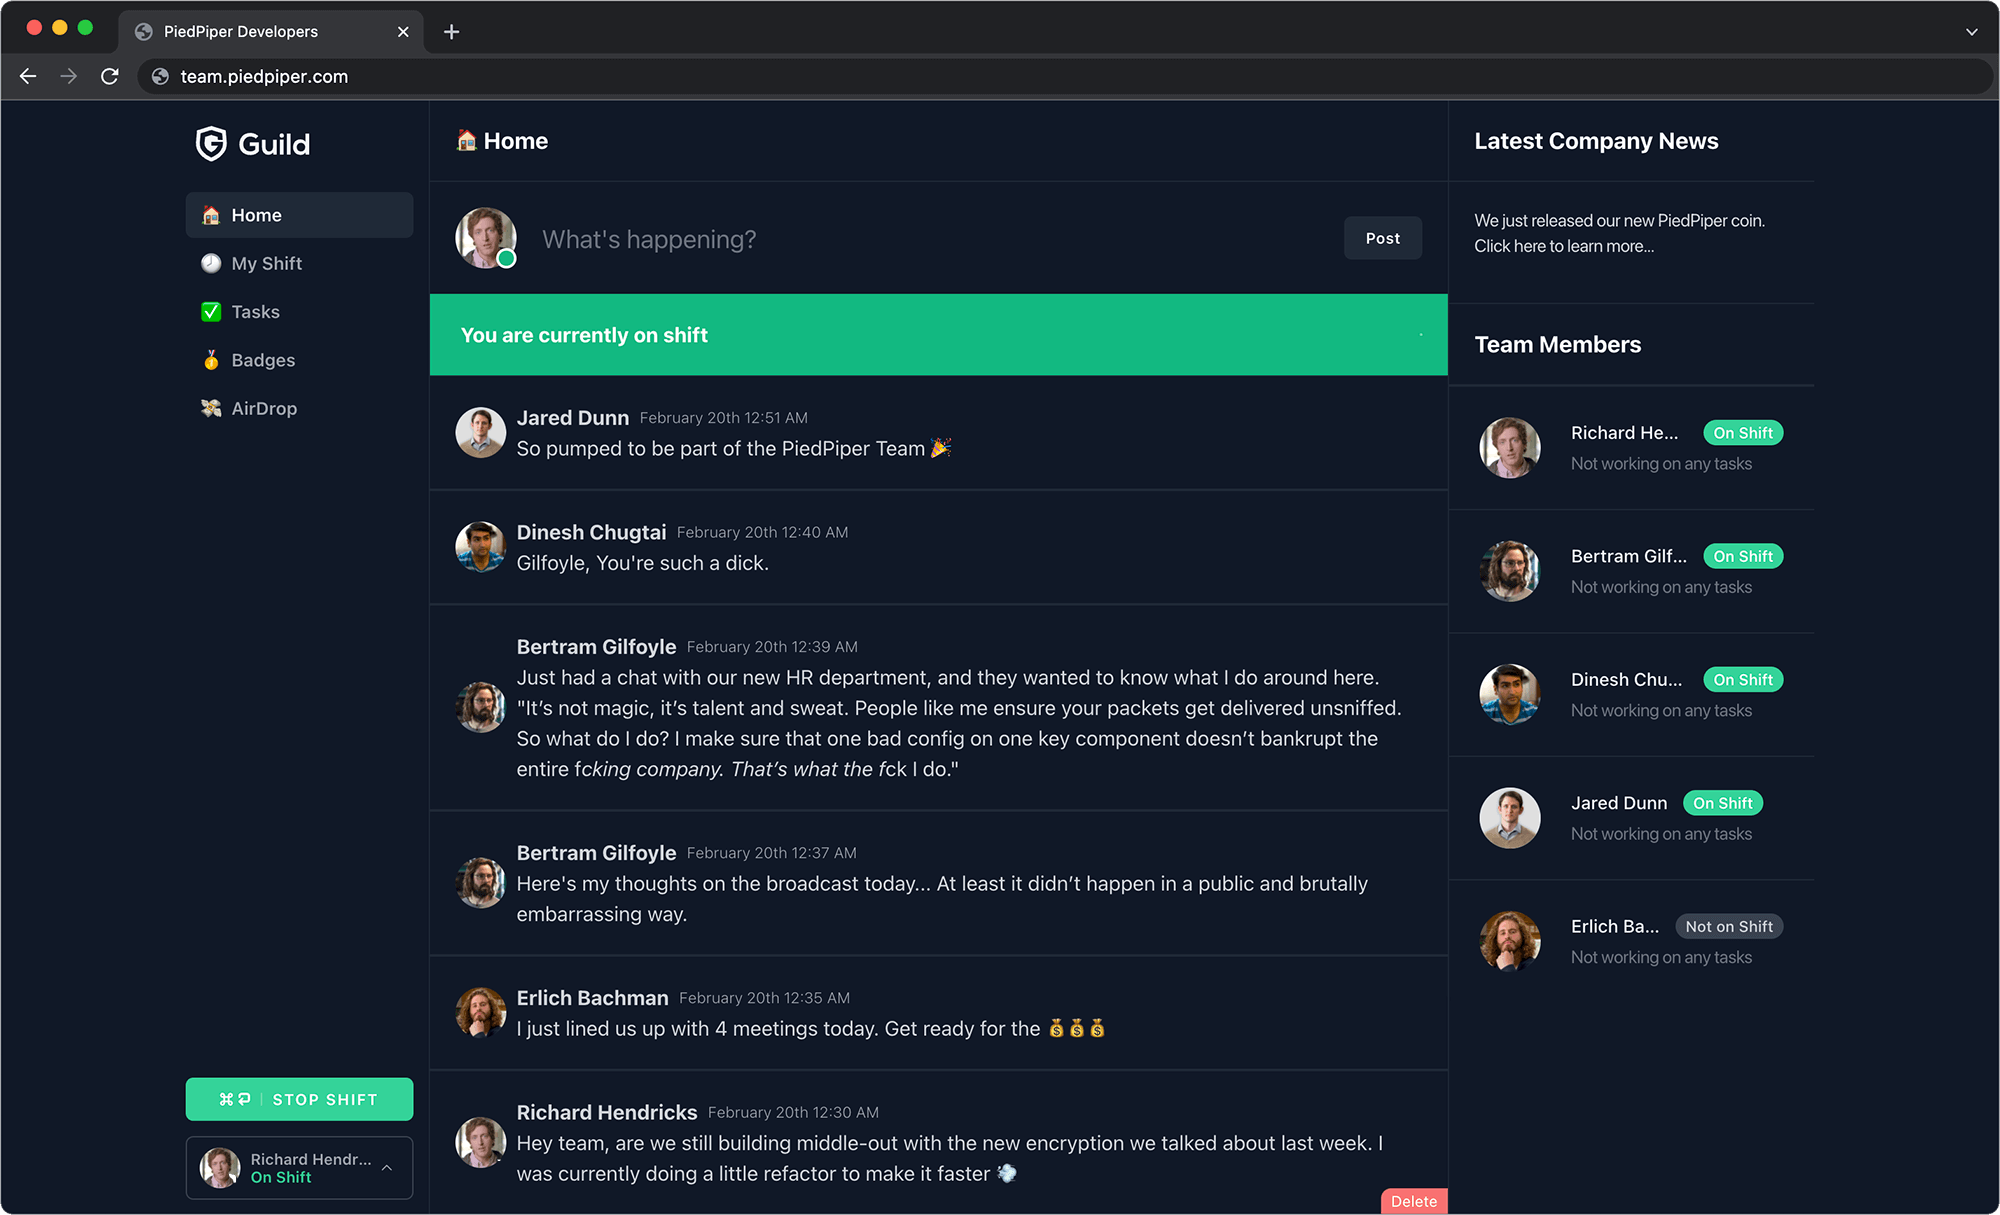
If you wish to setup a sample application you may run php artisan migrate:refresh --seed. This will load the application with some sample data from the kick-ass sit-com Silicon Valley 👇
You may login with any user with the password: password123, example:
- email: richard[at]piedpiper.com
- password: password123
🤓 Development Tips
Front-end Assets
In order to compile the front-end assets you'll want to install the node dependencies by running the following command in the root directory:
npm installYou can then run the following command to compile and watch for changes:
npm run watchWhen you are ready to minify the assets and prepare it for production you will run:
npm run productionWallet Assets
The wallet javascript functionality has been separated into it's own asset watcher and builder in order to keep things simpler. You can find these assets located at /public/wallet.
You can install the node dependencies by running the following command in the public/wallet directory:
npm installYou can then compile the assets the same way as above 👆, by using the npm run watch and npm run production commands.
That's it for the development tips, but there will probably be more to come 😉